The $100 Compact Sliding Bike Rack
A bike rack design for your basement or garage, which can hold a dozen bikes, in a minimal amount of space, and costs under $100 USD to build.
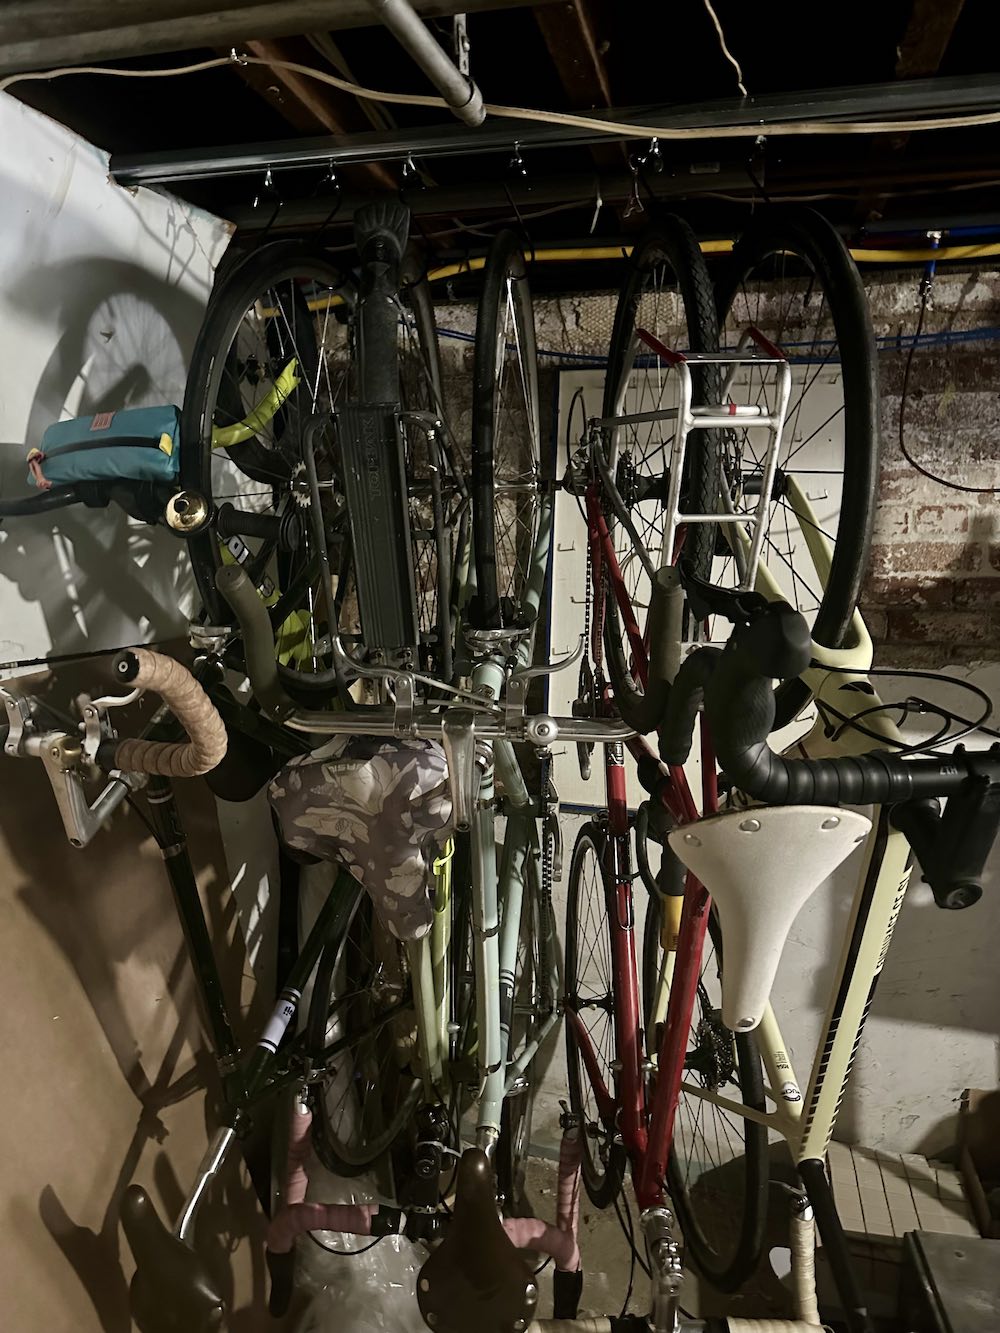
This is a fun little bike rack project I made for my basement. The key concept is that the bikes hang from sliding hooks, allowing them to be pushed together once hung up, saving a ton of space. When you need a bike, you can slide others out of the way, making space to comfortably take it down or hang it up. This is much like a closet with many clothes hung on hangers — you can fit a lot of items when they are touching; when you need to get something out, simply slide adjacent items over to make space. It takes a lot less space than hanging every item with padding to either side.
This concept isn't entirely new. SpaceRail is a commercial version of this, but costs $1500 for 12 bikes. There's a good YouTube tutorial, but it cost $238 for 8 bikes. My design's benefit is that it costs under $100 USD for 12 bikes. The trick was finding the right parts for the job: industrial curtain track made for hanging extremely heavy tarp curtains in car-washes and welding shops.
So far I'm quite happy with the performance. The only drawback is I fear this rack's efficient use of space will allow me to buy more bikes, negating any cost savings…
Parts List and Price Breakdown
You’ll need the following parts:
- $48: 1x 10ft length of industrial curtain track — 16 gauge
- $35: 12x Nylon curtain rollers/hangers
- $16: 12x S-Hooks capable of holding your bike wheels
- <$1: 6 Wood Screws
Total cost: just under $100!
The links above are illustrative. I found the actual parts at a local supplier in Toronto. The prices reflect what I actually paid, and I suggest trying to find a local supplier if you can.
A few notes for the parts:
- The track is sold in 10ft pieces, but can be cut shorter to fit your space.
- The nylon hooks are rated to 40lbs. This worked great for me as all of bikes are road/track bikes. If you have heavier mud/mountain/electric bikes, you can buy stainless steel rollers with bearings which are rated to 90lbs, but cost more.
Installation Instructions
Step 1: Determine the distance from your wall
If your track is too close the bikes will rub, hampering sliding and leaving marks on your wall. To determine the right distance, hang your largest bike by its wheel, and measure how far the track should be from the wall to prevent the lower wheel from rubbing. I ride XL bikes, measured this to be 70cm. I mounted the rail 75cm from the wall to be safe.
Step 2: Mount the railing to your ceiling
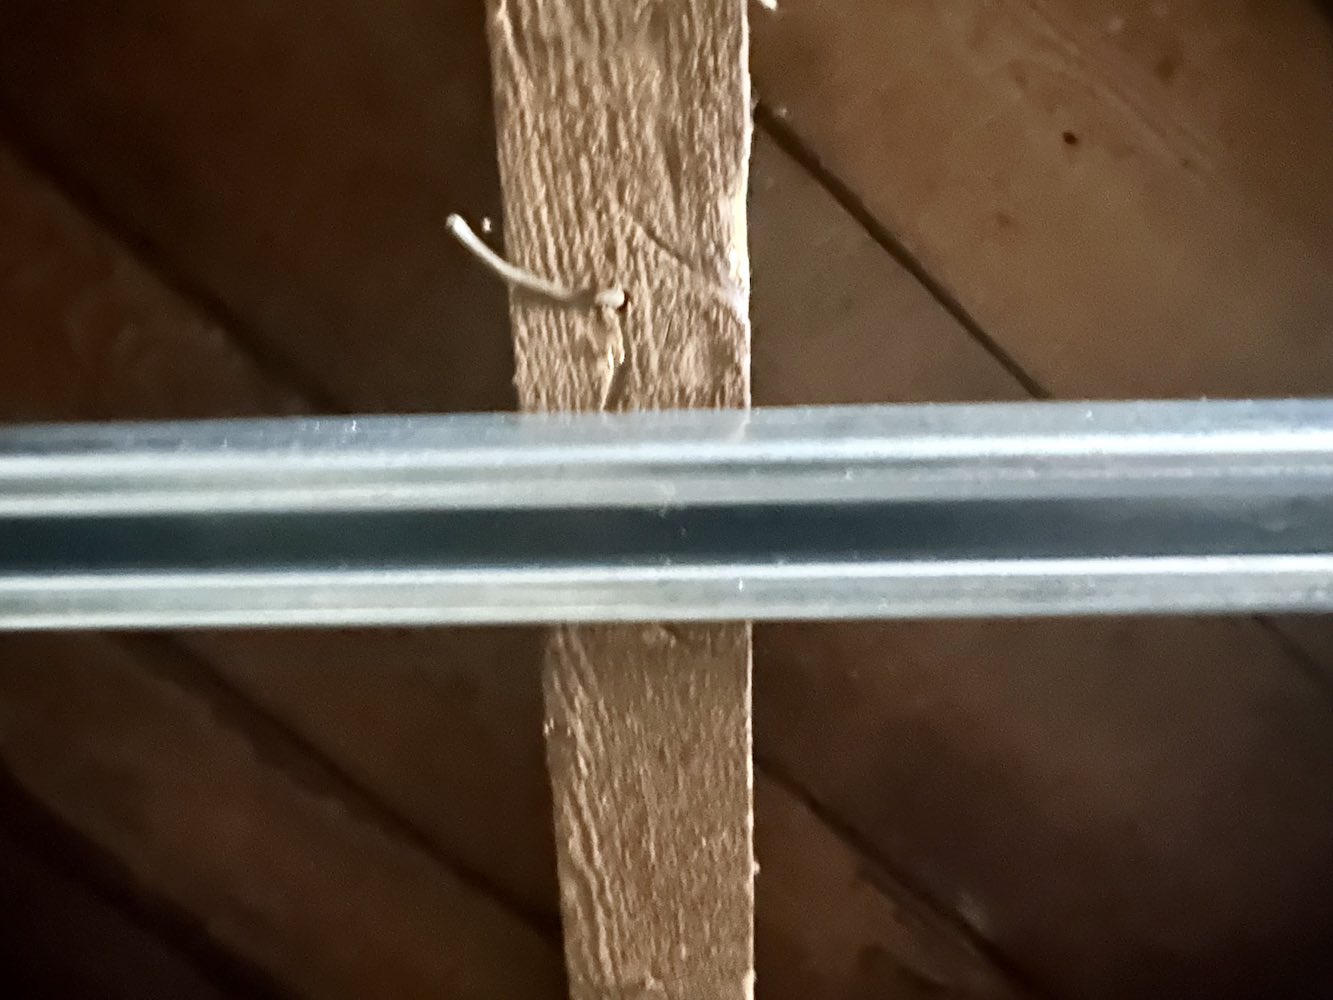
The installation of the curtain track/railing will really depend on your space. Do you want it flush to the ceiling or dropped? Which orientation are your rafters in? You'll need to be a bit handy to figure out the best format for your space. For me: I was in an unfinished basement, and mounting the railing perpendicular to the rafters. I was able to drill holds through the rail, and use wood screws to secure it to every second rafter. If you have a more complex install, they manufacture several formats of mounting brackets for this track, and it may be beneficial to buy them from your track supplier.

Step 3: Install rollers and hooks
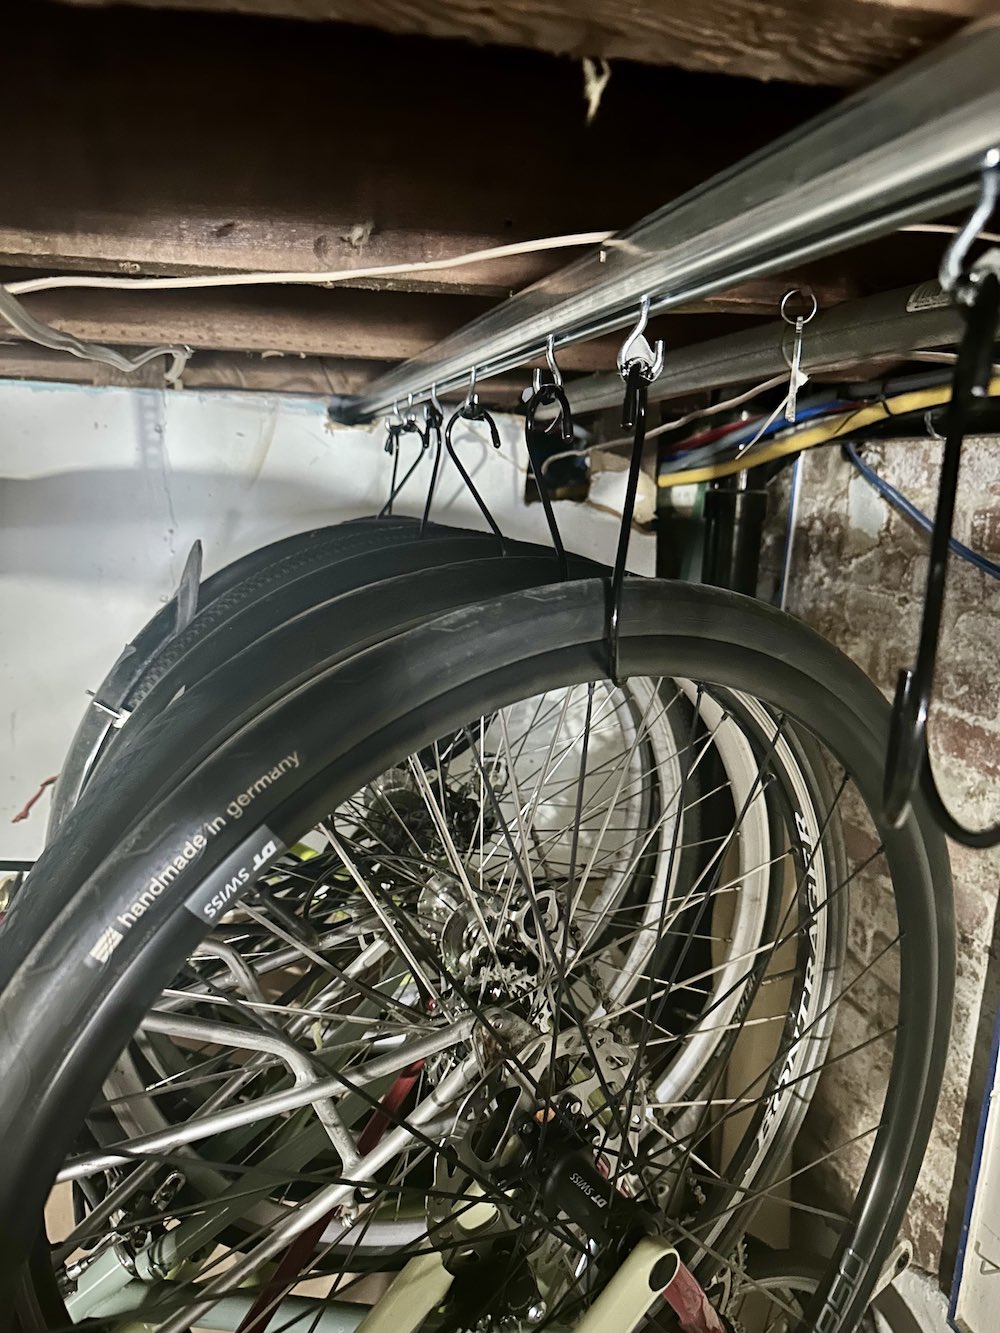
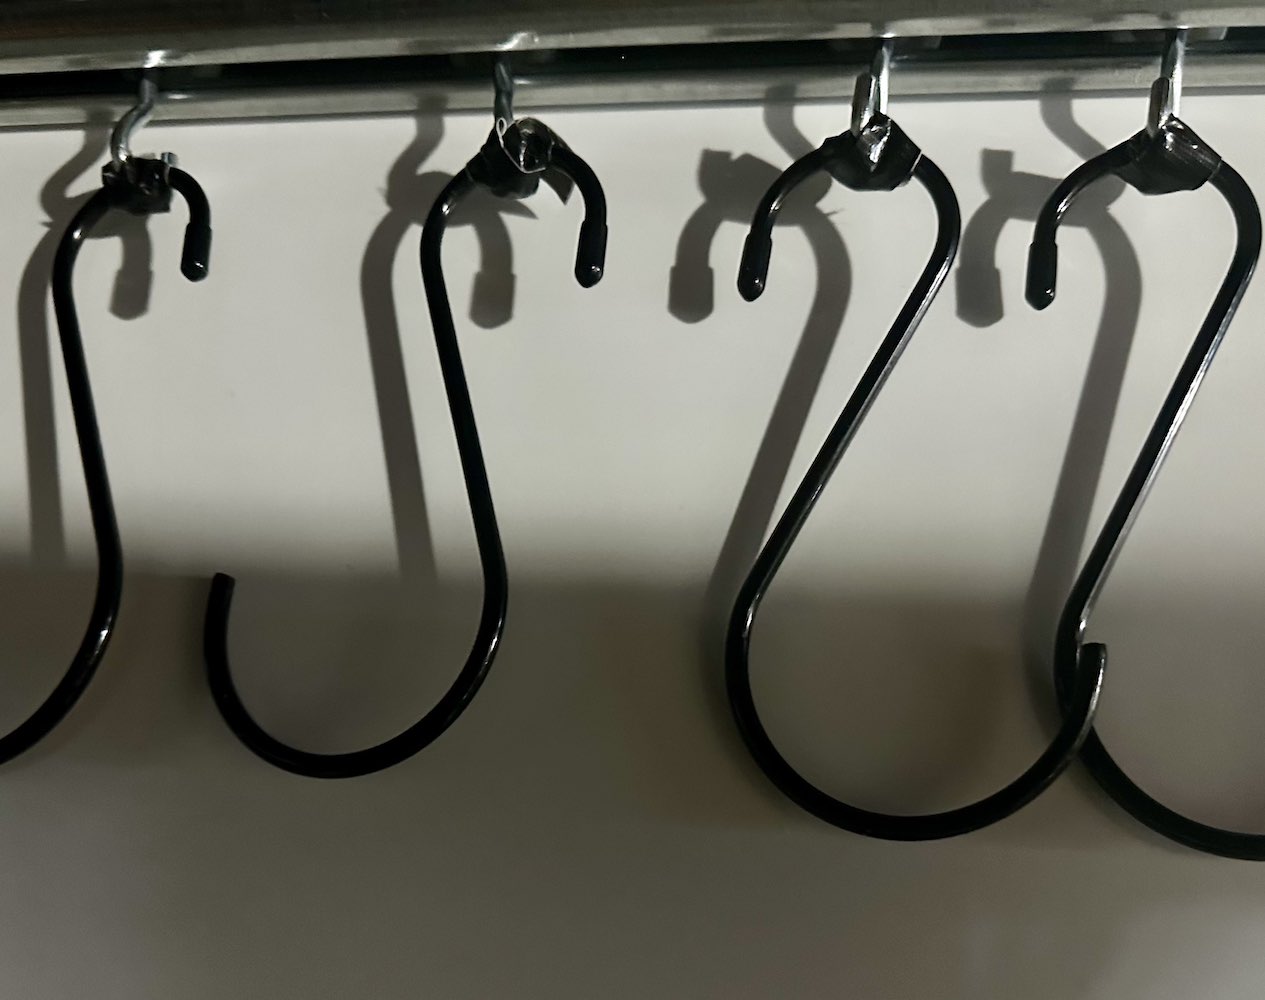
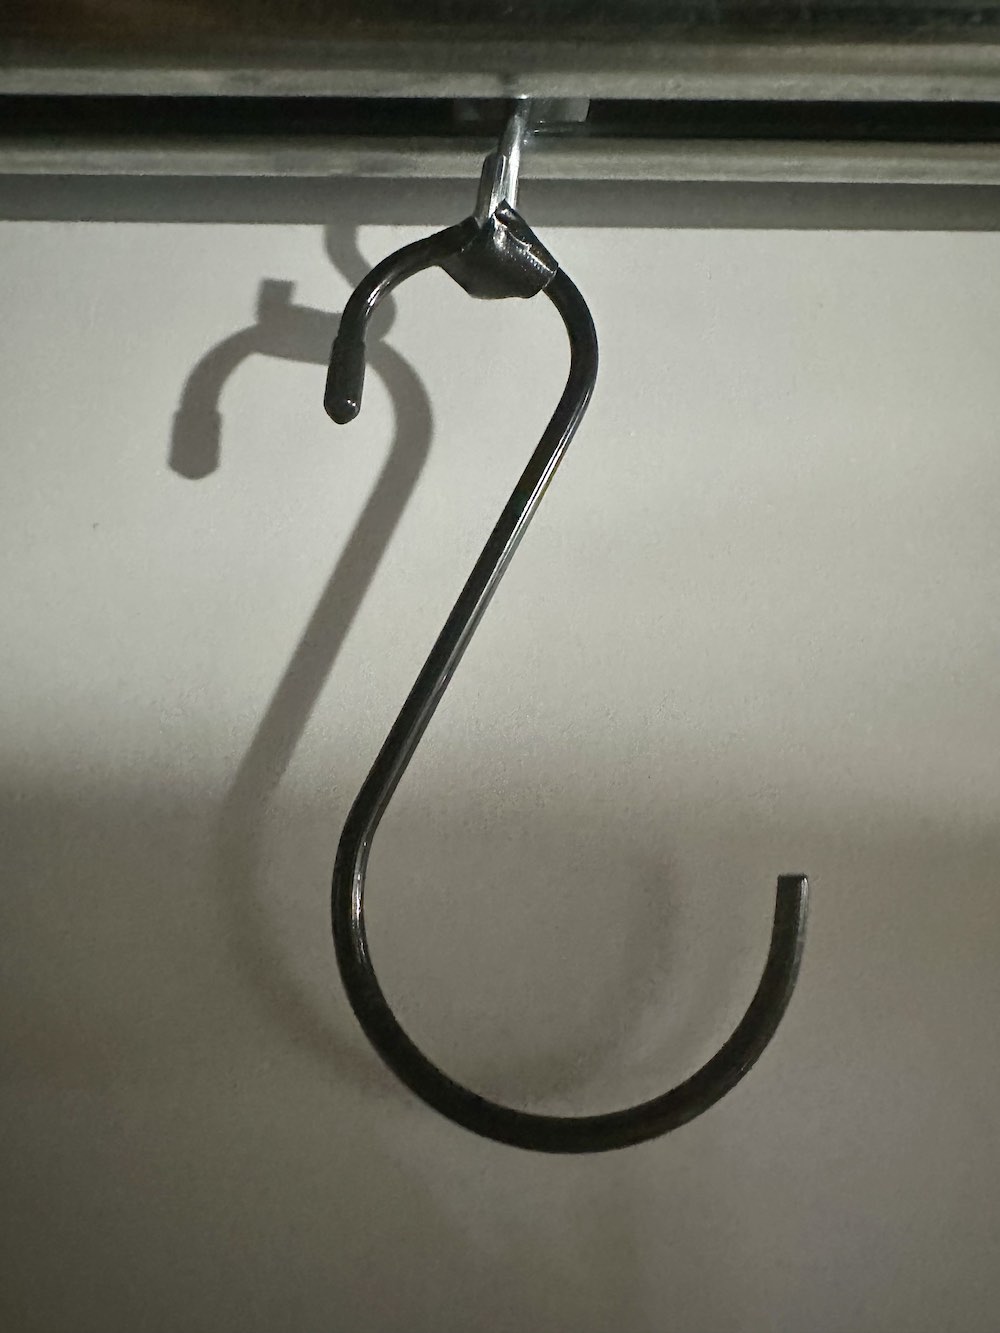
The hooks on the nylon track rollers are much too small to hold a bike wheel, so attach your S-Hooks to them. When under load they hold nicely, but I used a bit of gorilla tape to ensure the S-hooks aren't knocked off each time I lift a bike.

Step 4: Optional - Install end caps so bikes don't roll off the end
In my install, the walls prevent the rollers from sliding out the end of the track. If needed you can use bolts though the rail, to act as stops on each end.
Usage
The only trick to using this rack, is to alternate which wheel is up (front wheel/back wheel). This allows the bikes to be slid closer together, and the pedals to not collide. When pushed together 6 bikes take about 130cm of space.
When calculating how long to make your rack, remember that you'll need some extra room for getting bikes in and out. However, unlike other rack designs you only need to allocate that space once, no matter how many bikes you have. You can slide bikes to move the space where needed.
Photos
Excuse the dark basement lighting, but here's a look at the finished product:
